How to Install VPN on Your Android Phone: A Comprehensive Guide
In today's digital era, online privacy and security have become paramount concerns for many users. With the rise of cyber threats, protecting your personal information is crucial. A Virtual Private Network (VPN) is a powerful tool that can help you achieve this. In this article, we will provide you with a detailed, step-by-step guide on how to install VPN on Android phone and enhance your online experience.
Why Use a VPN on Your Android Phone?
Before delving into the installation process, let's explore the benefits of using a VPN on your Android device:
- Online Privacy: A VPN encrypts your internet traffic, making it difficult for hackers, ISPs, or government entities to spy on your online activities.
- Access to Geo-Restricted Content: With a VPN, you can bypass geographic restrictions, allowing you to access content from anywhere in the world.
- Enhanced Security: Public Wi-Fi networks are notorious for their lack of security. A VPN protects your data while using such networks.
- Anonymous Browsing: VPNs mask your IP address, providing a higher degree of anonymity while surfing the web.
Choosing the Right VPN Provider
Not all VPNs are created equal. It's essential to select a reputable VPN provider that meets your needs. Here are some factors to consider when choosing a VPN:
- Encryption Standards: Look for VPNs that offer strong encryption protocols like AES-256.
- No-Log Policy: Choose a provider that does not log your internet activities to ensure your privacy.
- Server Locations: More server locations mean better options for accessing geo-restricted content.
- Speed and Performance: Opt for a VPN that delivers high-speed connections to enhance your browsing experience.
- Customer Support: Reliable customer support is crucial for resolving any issues that may arise.
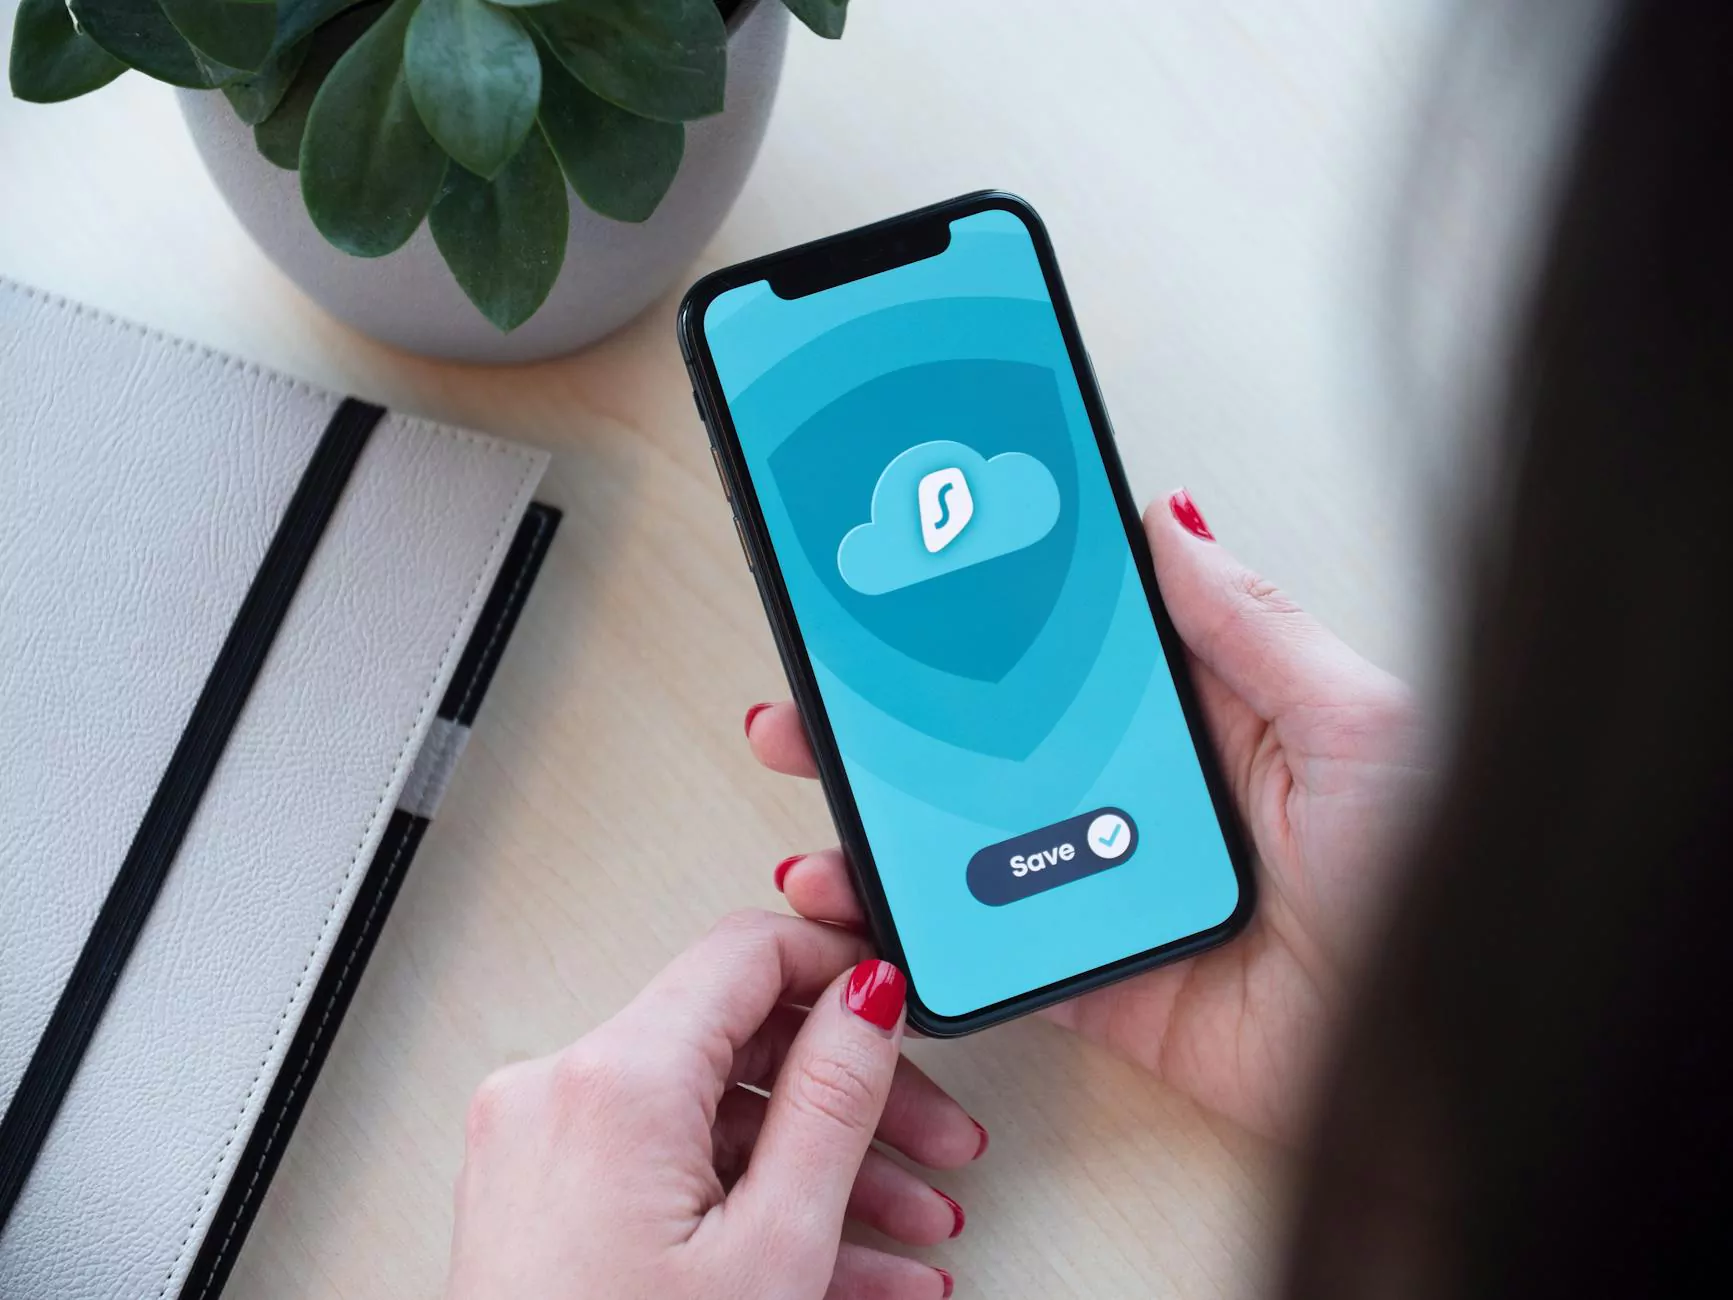
How to Install VPN on Android Phone
Now that you have chosen a VPN provider, it's time to install VPN on your Android phone. Follow these detailed steps to get started:
Step 1: Download the VPN App
1. Open the Google Play Store on your Android device.
2. Use the search bar to enter the name of your chosen VPN provider.
3. Locate the official app and tap on Install.
4. Once installed, tap Open to launch the app.
Step 2: Create an Account or Log In
If you are a new user:
- Tap on Sign Up to create a new account.
- Enter your email address and create a strong password.
- Follow any additional prompts to complete the registration process.
If you already have an account:
- Tap on Log In.
- Enter your credentials (email and password).
- Tap Log In to access your account.
Step 3: Configure VPN Settings
1. Once logged in, you may need to grant the app certain permissions.
2. Navigate to the settings menu within the app. Here, you can customize various options:
- Select Protocol: Depending on your needs, choose between protocols like OpenVPN, IKEv2, etc.
- Enable Kill Switch: This feature ensures that your internet connection is disabled if the VPN connection drops, preventing data leaks.
- Choose Launch Options: Decide whether to launch the app on startup or connect to the VPN automatically.
Step 4: Connect to a VPN Server
1. Go to the home screen of the app.
2. You will typically see a list of servers. Choose a server based on your requirements (e.g., location for geo-restriction bypassing).
3. Tap the Connect button. The app will initiate a connection to the selected server.
4. Once connected, you should see a notification indicating the connection status.
Step 5: Confirm Your VPN Connection
To ensure that your VPN is working correctly:
- Visit a website that shows your IP address (e.g., whatismyip.com).
- Your IP address should reflect the location of the VPN server you connected to.
- If you see your actual IP address, reconnect to the VPN to troubleshoot.
Troubleshooting Common VPN Issues
While installing a VPN on your Android phone is typically straightforward, you may encounter some issues. Here are common problems and their solutions:
Problem 1: Unable to Connect
Solution: Check your internet connection. If your connection is stable, try selecting a different server or restarting the app.
Problem 2: Slow Speeds
Solution: Switch to a closer server to improve speed. VPNs can slow down your connection, but choosing a server in your region usually alleviates this.
Problem 3: IP Leak
Solution: Make sure that the correct protocols are enabled and that the kill switch is active to prevent leaks.
Best Practices for Using a VPN on Android
Once you've successfully installed a VPN on your Android phone, consider implementing these best practices:
- Always Connect: Enable the VPN whenever using public Wi-Fi.
- Keep the App Updated: Regular updates ensure you have the latest security features.
- Monitor Your Connection: Frequently check the status of your VPN to ensure it's working properly.
- Review Privacy Policies: Stay aware of your VPN provider's logging policies and make sure it aligns with your privacy expectations.
Conclusion
Installing a VPN on your Android phone is a simple yet effective way to enhance your online privacy and security. By following the steps outlined in this guide, you can protect your data from prying eyes and enjoy unrestricted access to global content. Remember to choose a reputable VPN provider, configure your settings wisely, and adhere to best practices for optimal security. Start safeguarding your online presence today!
About ZoogVPN
As a dependable provider in the field of telecommunications and internet service, ZoogVPN offers a robust solution for those seeking privacy and freedom online. With a diverse range of servers, strong encryption, and a commitment to user privacy, ZoogVPN stands out as an excellent choice for anyone looking to install VPN on Android phone effectively.